Created with a Purpose Embroidery patch. Patch is Sew on with iron on adhesive for placement. Christian patch 9.98
Created with a Purpose Embroidery patch. Patch is Sew on with iron on adhesive for placement. Christian patch 9.98
Couldn't load pickup availability
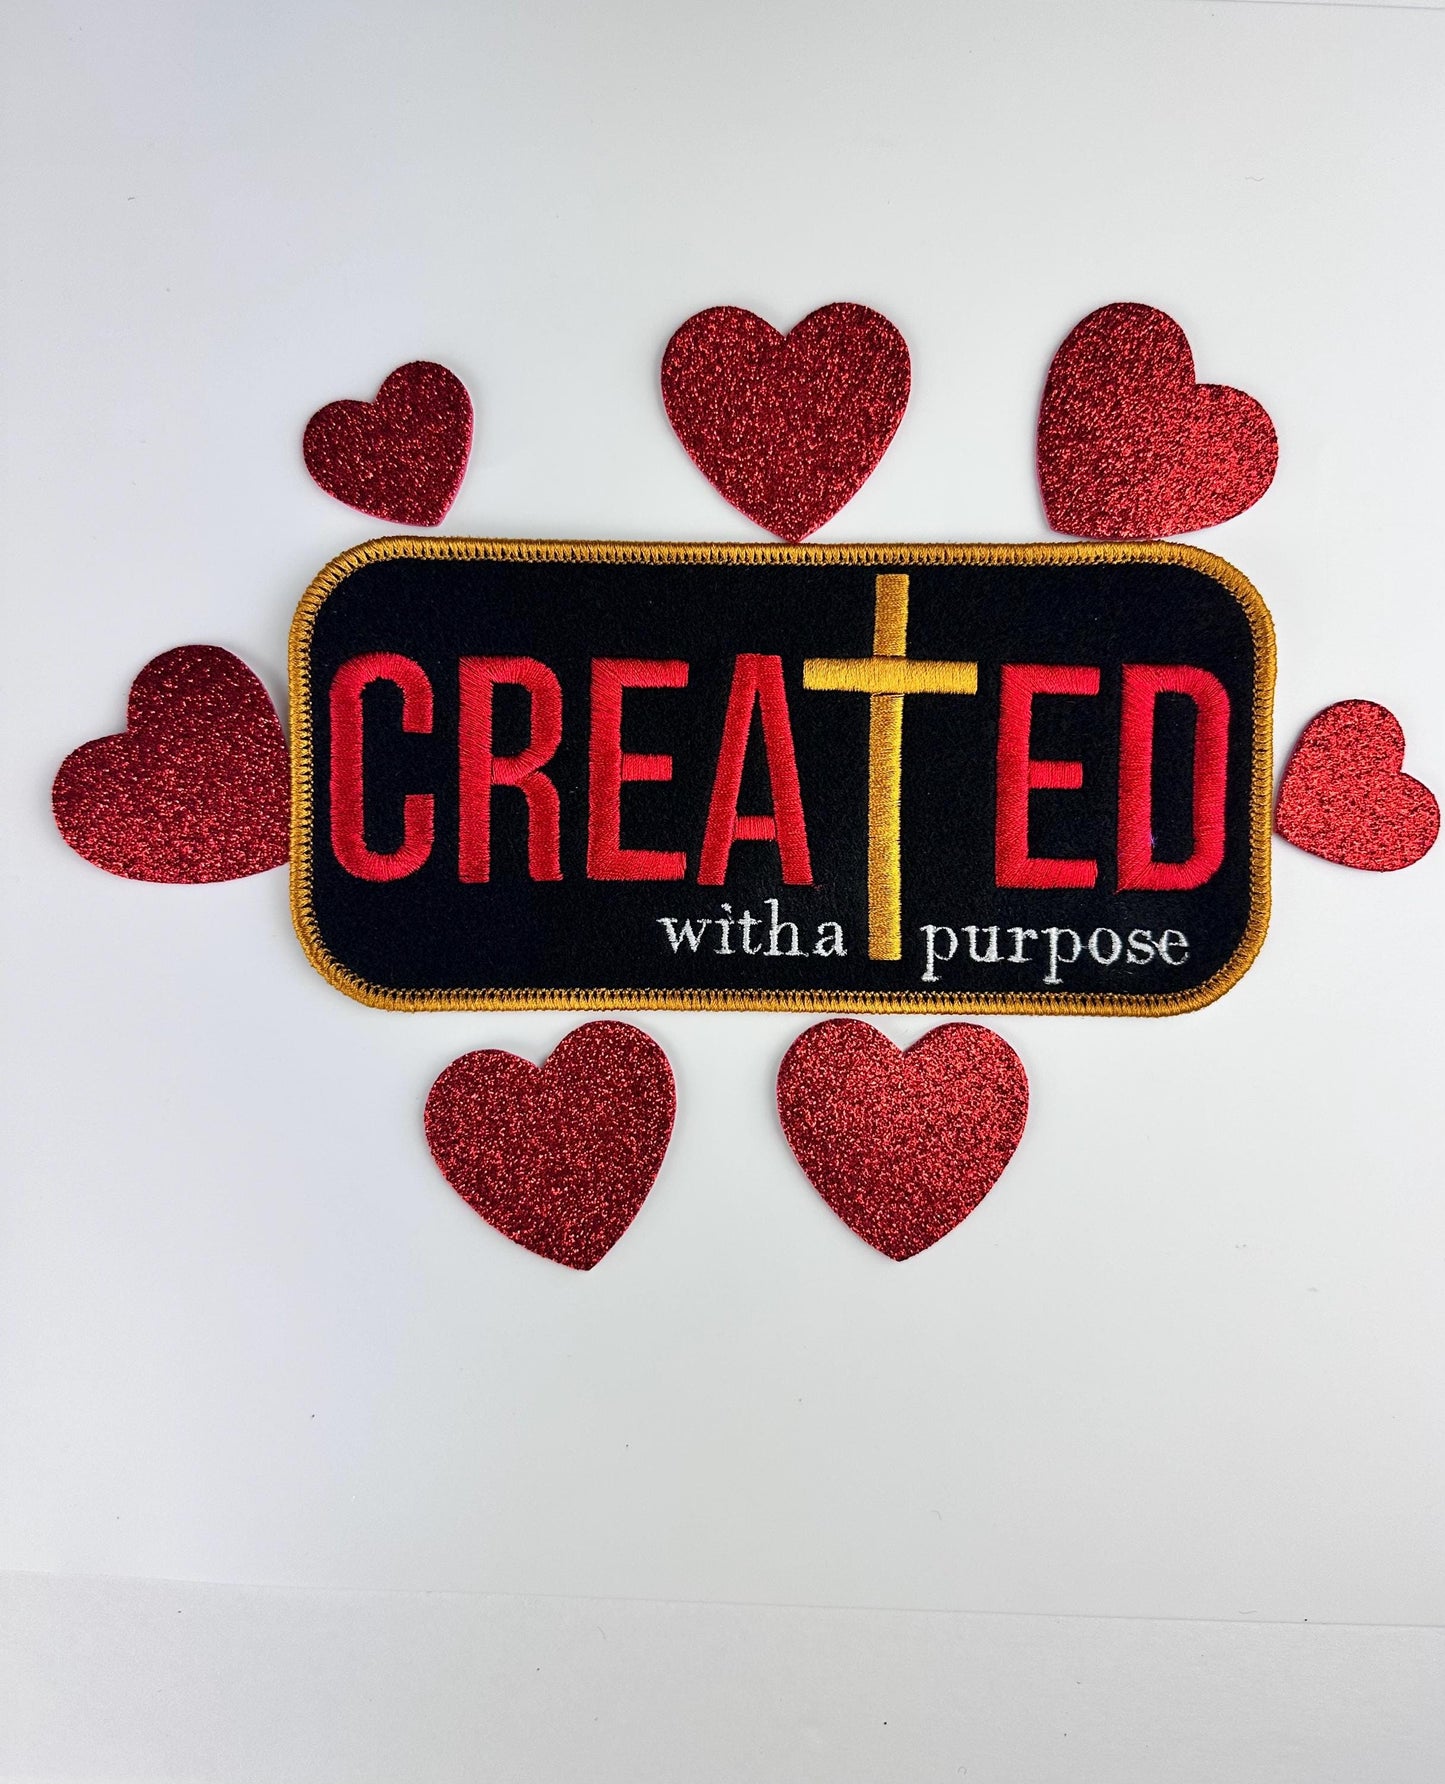
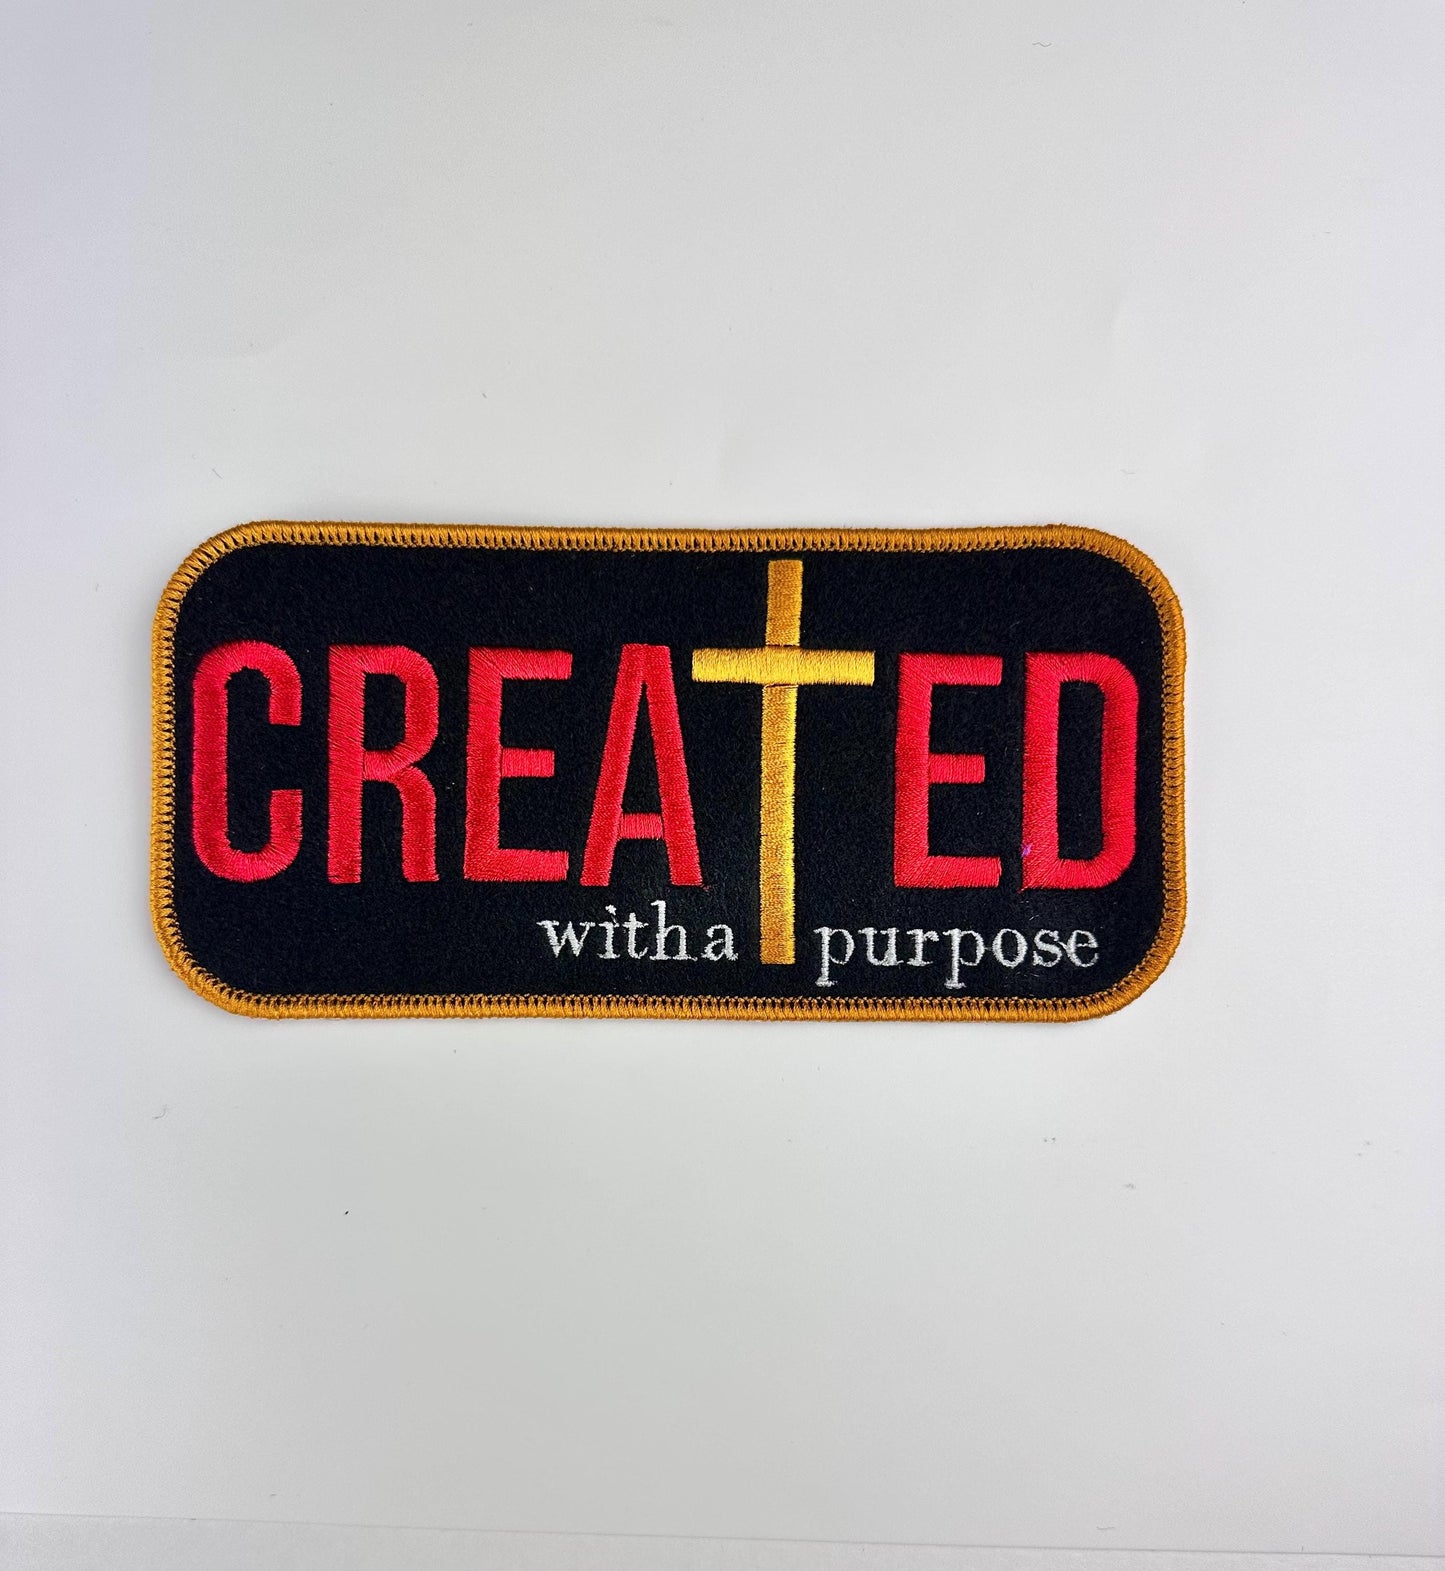
"Created with a Purpose", This 6 7/8" x 3 3/8" embroidered patch is a bold statement of faith and purpose. The design incorporates a cross replacing the letter "T", symbolizing Christian belief and intention. The dark Red lettering stands out with an elegant and regal touch, while the rich Gold accents add depth and warmth to the design. Set against a black background, the colors create a striking contrast that makes the message pop.
This embroidery patch is durable and versatile, perfect for jackets, backpacks, hats, or any fabric surface. It can be ironed on or sewn for extra security, making it a great accessory for those who want to wear their faith proudly.
MY SUGGESTED METHOD USING IRON OR HEAT PRESS:
For stronger durability, SEW around the edges after pressing.
Instructions:
Preheat Your Iron
Set your iron to "Cotton" or "High Heat" (around 300°F / 150°C).
Make sure the steam function is turned off.
Position the Patch
Lay the fabric on a flat, heat-resistant surface.
Place the patch in your desired location with the adhesive side down (backing against the fabric).
Protect the Patch
Cover the patch with a thin towel or parchment paper to prevent direct contact with the iron.
Apply Heat & Pressure
Press the iron firmly onto the patch for 30–45 seconds without moving it around.
Apply steady pressure to ensure the adhesive melts into the fabric.
Flip & Repeat
Turn the fabric inside out (if possible).
Iron the back of the patch for another 30 seconds to reinforce the bond.
Cool & Check
Let the patch cool for 5 minutes before touching it.
Gently tug the edges to check if it’s secure.
If edges lift, repeat the ironing process for another 10–15 seconds.
Extra Tips:
For extra durability, sew around the patch after ironing.
Avoid washing the item for 24 hours to let the adhesive fully set.
Wash on a gentle cycle and air dry to prolong patch life.
Your embroidered patch is now securely attached and ready to display!
Iron-On Instructions for an Embroidered Patch Using a HEAT PRES
Heat Press Settings:
Temperature: 305°F – 320°F (150°C – 160°C)
Pressure: Medium to firm
Time: 15–20 seconds
Instructions:
Preheat the Heat Press
Set your heat press to 305°F – 320°F (adjust based on fabric type).
Position the Patch
Lay your fabric flat on the heat press platen.
Place the patch on the fabric with the adhesive side down.
Cover the Patch
Place a Teflon sheet or parchment paper over the patch to protect the embroidery from direct heat.
Apply Heat & Pressure:
Press and apply firm pressure for 15–20 seconds.
Cool & Check:
Carefully remove the fabric from the heat press and let it cool for 5 minutes.
Check if the patch is securely adhered.
If edges lift, repeat the press for 5–10 more seconds.
MY SUGGESTED METHOD USING IRON OR HEAT PRESS:
For stronger durability, SEW around the edges after pressing.
Wait 24 hours before washing to allow the adhesive to set properly.
Your embroidered patch is now securely attached and ready to wear!
Please Contact us with any Questions.